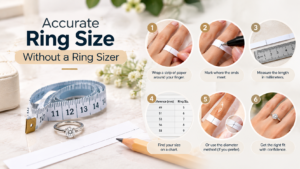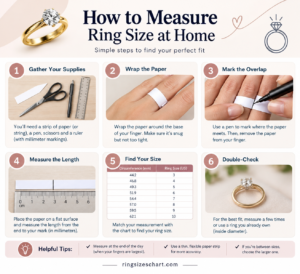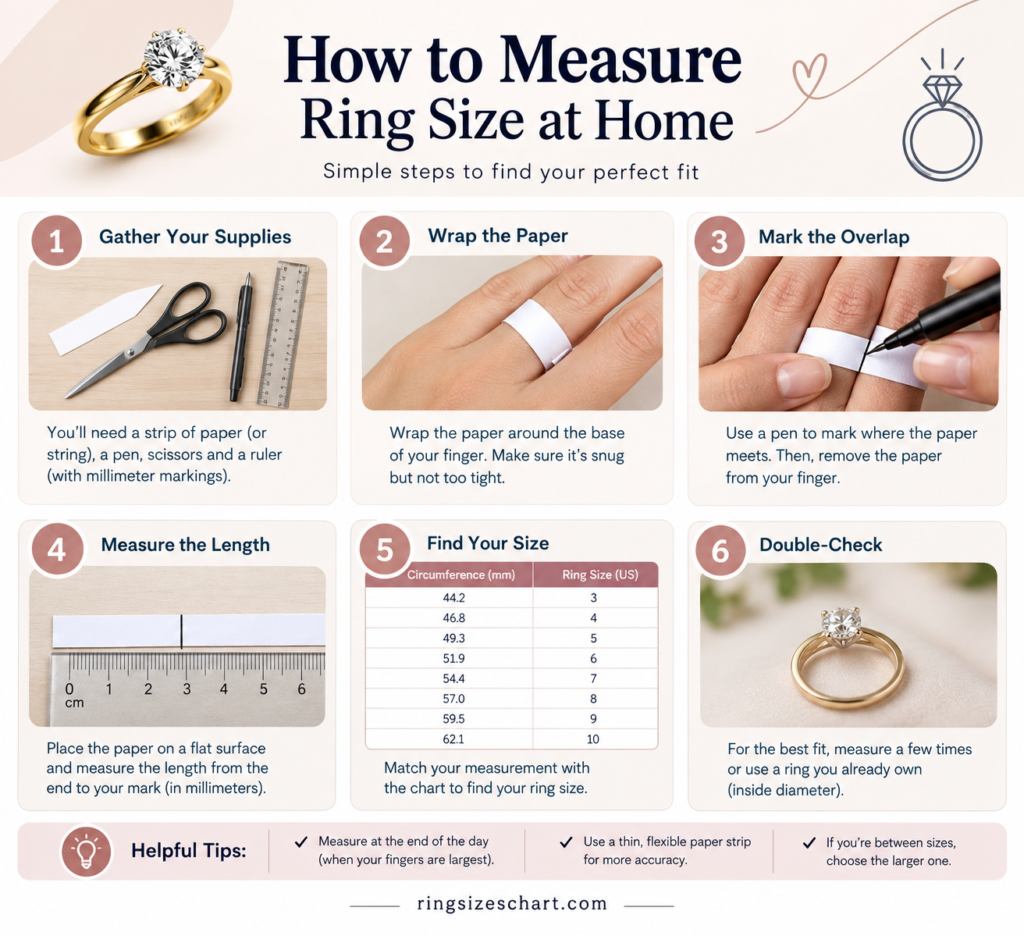
You can measure your ring size accurately at home in under five minutes using a strip of paper or string, a ruler, and a spot on your finger that has not just been in the cold or the heat. Wrap it snugly around the base of the finger, mark where it overlaps, measure that length in millimeters, and compare it against a standard chart. That is the entire process. The details below are what separate a rough guess from a measurement you can actually trust.
The Three Home Methods, Compared
Not every method is equally accurate, and knowing the tradeoffs upfront saves you from redoing the measurement later.
| Method | Accuracy | Best For |
|---|---|---|
| String or paper strip | Good, if wrapped carefully | Anyone without a ring that already fits |
| Measuring an existing ring | Very good | Someone who already owns a comfortable ring for that finger |
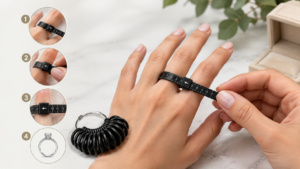
| Printed ring sizer or sizing tool | Very good | Anyone wanting a second confirmation beyond string or paper |
A string or paper measurement gives you circumference directly, ready to compare against a chart. Measuring an existing ring gives you diameter, which needs converting to circumference, or comparing against a diameter column instead. Our full explanation of diameter versus circumference covers exactly how the two relate if you want the underlying math.
Step by Step: Measuring With String or Paper
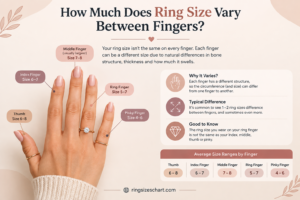
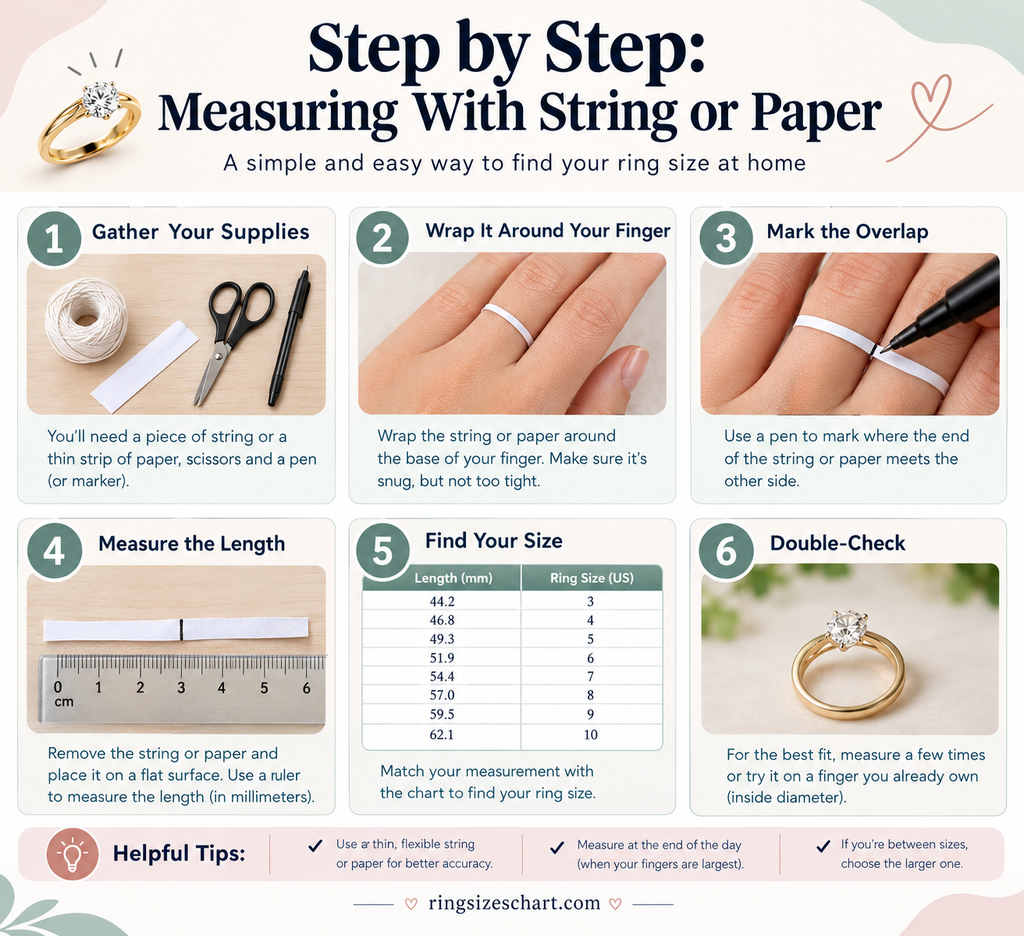
Step 1: Pick the right finger. Measure the exact finger the ring is meant for. Sizes commonly differ by a full size or more between fingers on the same hand, so measuring the wrong one defeats the purpose of measuring at all.
Step 2: Time it right. Avoid measuring right after waking up, right after exercise, or right after time in the cold or heat, since fingers swell and shrink noticeably in all of those situations. Late morning or early evening at a normal room temperature gives the most representative reading.
Step 3: Wrap it snugly, not tightly. Wrap the string or paper strip around the base of the finger, at the point where a ring would actually sit. It should feel snug enough that it will not slide off on its own, but not so tight that it presses into the skin.
Step 4: Mark and measure. Mark the exact point where the strip overlaps itself, then lay it flat against a millimeter ruler. That number is your circumference in millimeters.
Step 5: Compare it against a chart, or convert it instantly. Match your circumference to the corresponding size on a standard chart, or use our free ring size calculator to get your US, UK, EU, and Japan sizes in one step without doing any conversion yourself.
Step 6: Do it twice. Measure again on a different day if possible, or at least a second time the same day. Two readings within a quarter size of each other give you real confidence in the result.
Measuring an Existing Ring Instead
If you already own a ring that fits the intended finger comfortably, this is often the more reliable option. Lay the ring flat on a hard surface and measure straight across the inside edge with a ruler, from one inner wall to the opposite inner wall, not across the outer edge of the band. This gives you the inner diameter, which converts to circumference by multiplying by pi, or can be matched directly against a diameter column on a chart.
A clever household trick if you do not have fine calipers: a set of drill bits or a jeweler’s mandrel, if you happen to have access to one, gives a far more precise diameter reading than eyeballing a ruler, since you can test which bit slides through the ring with a snug fit rather than trying to read a small number off a flat ruler.
Exactly How Much a Measuring Error Matters
This is worth understanding before you measure, since it tells you how careful you actually need to be. A full US size step moves the circumference by roughly 2.5mm, and diameter by roughly 0.8mm. A quarter size, often the smallest adjustment a jeweler can make, is closer to 0.6mm of circumference or 0.2mm of diameter. Our detailed breakdown of whether a quarter size makes a difference goes further into when that small a gap actually matters for comfort.
Practically, this means a measurement that is off by a full millimeter on a string or paper reading can shift your result by close to half a size, which is genuinely enough to matter on a snug fitting ring. Careful wrapping and a clean, exact mark at the overlap point matter more than most people assume going in.
Common Mistakes That Throw Off the Result
Wrapping too tightly. This is the single most common error. A tight wrap compresses the finger slightly and returns a smaller number than your true comfortable size.
Measuring over a knuckle instead of at the base. The ring needs to pass over the knuckle but ultimately rest at the base of the finger, so measuring at the wrong point gives you the wrong reference size entirely.
Using a stretchy material. A rubber band or an elastic string will stretch under tension, giving an inconsistent reading each time. Stick to paper, non stretch string, or a proper measuring tape.
Measuring only once. A single reading does not account for the small natural variation in how a wrap sits from one attempt to the next. Two or three readings, compared against each other, catch outliers before they turn into an inaccurate order.
Confusing diameter and circumference. Comparing a diameter measurement against a circumference column, or the reverse, is one of the most common reasons a self measured order comes back the wrong size.
What This Fits Into
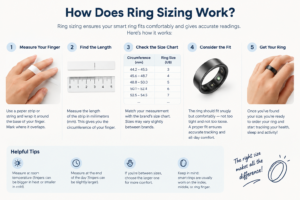
Measuring correctly is the foundation for almost everything else about ring sizing. Once you have an accurate number, our guide on how ring sizing actually works covers how that measurement translates across US, UK, EU, and other systems, and how design factors like band width can still change how a correct size feels once worn. If you want an even more precise method using an actual tape measure rather than paper or string, our step by step guide to measuring ring size with tape walks through that process in detail.
Frequently Asked Questions
What household items can I use instead of a proper ring sizer?
A strip of paper, a piece of non stretch string, dental floss, or even a thin strip cut from a plastic bag all work, as long as the material does not stretch under light tension.
Is it more accurate to measure my finger or an existing ring?
Both are reliable when done carefully. Measuring an existing ring tends to have slightly less room for error, since there is no risk of wrapping too tight or too loose, but it only works if you already own a ring that fits the intended finger well.
What time of day is best for measuring?
Late morning through early evening, at a normal room temperature, tends to give the most representative reading. Avoid measuring right after waking, right after exercise, or right after being in extreme heat or cold.
How many times should I measure before trusting the result?
At least twice, ideally on separate occasions. If both readings land within a quarter size of each other, you can trust the measurement with confidence.
Can I use a phone app instead of physically measuring?
Some apps attempt to estimate ring size using your phone’s camera, but accuracy varies significantly depending on lighting and camera calibration. A physical measurement with string, paper, or an existing ring remains the more reliable option.
Final Thoughts
Measuring ring size at home does not require special tools, just a careful hand and a few minutes of patience. Pick the right finger, measure at a normal time of day, wrap snugly rather than tightly, and check your result more than once before trusting it. Get those basics right and a home measurement holds up just as well as one taken in a jewelry store.